![]()
How to Compare Cold Blending vs Juicing: A Quick Step-by-Step
Cold Blending vs Juicing: A Quick Roadmap
Cold blending preserves whole fruits and vegetables using low-speed blades, while juicing extracts liquid and removes pulp. Comparing them matters for nutrition, taste, fiber, convenience, and goals. This guide helps you test both and choose what fits your lifestyle now.
What You’ll Need
1
Step 1 — Know the Methods
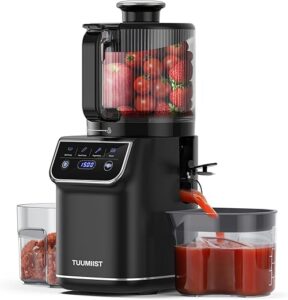
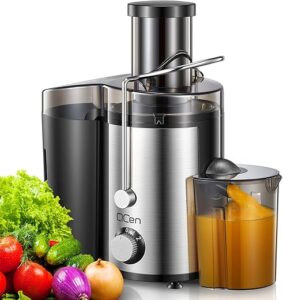
What exactly are you comparing? Spoiler: one keeps the pulp, the other discards it — and that matters more than you think.Define cold blending as pulverizing whole produce (including skins, pulp, and seeds) into a drinkable smoothie that retains fiber and texture. Define juicing as separating liquid from solids to yield a clearer, often thinner juice with most fiber removed.
Describe typical machines, cost, prep time, and texture: blenders (personal, high‑speed like Vitamix; $30–$600+, quick chop, thicker texture) versus juicers (centrifugal or masticating; $50–$800+, more prep/cleanup, clearer juice).
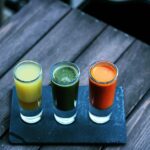
List common ingredients:
Note immediate pros and cons: blending = fiber and satiety; juicing = concentrated micronutrients and faster absorption.
2
Step 2 — Compare Nutrition and Fiber
Is more fiber always better? The answer depends on digestion, blood sugar goals, and how you plan to use the drink.Compare which nutrients each method retains: blending keeps most vitamins, minerals, and phytonutrients because you use whole produce; juicing concentrates water‑soluble vitamins and some antioxidants in the liquid but discards fiber and some bound compounds.
Note that juicing can increase sugar concentration per sip, speed absorption, and raise glycemic response; blending preserves bulk and slows digestion, increasing fullness.
Test with identical produce: weigh 300 g of apples, blend one batch (with skins) and juice the other; note volume, color, and pulp. Measure fullness after a 200‑ml serving (example: blended apple vs juiced apple).
Check quick nutrient reference points:
Consult labels or research for precise nutrient losses. Emphasize: blending keeps whole-food benefits; juicing delivers more immediate nutrients per sip but removes bulk.
3
Step 3 — Do a Side-by-Side Trial
Two drinks, one morning — see differences in taste, digestion, and energy in real time.Gather the same produce (example: apple, carrot, spinach, cucumber). Weigh equal portions — e.g., 100 g of each per method — so both batches start identical.
Make one cold‑blended smoothie (use the lowest heat/speed setting or pulse to minimize friction) and juice the same produce in the juicer. Record times and measurements as you go.
Track personal responses over the next few hours: hunger level, digestion (bloating/comfort), energy, and blood sugar if you monitor it. Document findings in a simple table or notebook so you compare results objectively rather than relying on impressions.
4
Step 4 — Choose Based on Goals and Practicalities
Not one-size-fits-all: pick blending for convenience and fiber, juicing for quick nutrient hits — or mix and match.Match your goal to the method: choose blending for weight management and satiety (keeps fiber), choose juicing for rapid nutrient intake or short-term cleansing.
Factor practicalities: compare time, cleanup, cost, and storage. Juicers often produce less waste but need more parts cleaned; blenders are faster and more versatile.
Use both methods: add juicer pulp to soups, muffins, or compost; have a juice immediately post-workout for quick carbs and a smoothie for breakfasts to stay full.
Run your documented trial, weigh pros and cons, and adopt a routine that fits your taste, schedule, and health priorities.
Wrap-Up and Next Steps
Both cold blending and juicing have strengths; run the simple side-by-side trial, note taste, texture, satiety, and nutrient perception, then choose the method that fits your nutrition goals, time, and cleanup preferences—are you ready to test and decide for yourself?