![]()
How to Clean Hard-to-Reach Juicer Parts in 5 Easy Steps
How to Clean Hard-to-Reach Juicer Parts in 5 Easy Steps
Follow five clear steps to clean hard to reach juicer parts safely: disassemble, soak, scrub, rinse, and reassemble. Surprising fact: neglected pulp can grow mold within 24 hours if ignored.
What You’ll Need
Essential Cleaning Kit
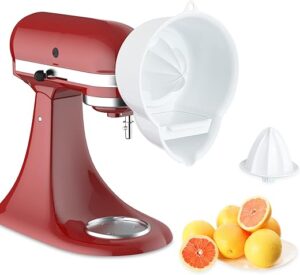
6-Piece Cold Press Juicer Cleaning Brush Kit

Complete kit for slow and masticating juicers
A six-piece brush set designed to clean every part of cold-press and masticating juicers, from filters to feed chutes. Helps maintain performance and extend your juicer’s lifespan by removing pulp and residue thoroughly.
I may earn a commission at no cost to you.
1
Step 1 — Disassemble with Care
Why gentle teardown saves time and prevents ruined parts?Unplug the juicer and consult the manual. Remove parts in order: pusher, hopper, feed tube, auger, filter, and lid—photograph each step to aid reassembly. Place small screws and inserts in a bowl.
Work over a towel to catch drips and prevent parts falling into drains.
Best Fit

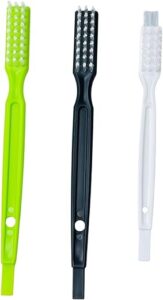
3-Piece Omega-Compatible Juicer Brush Set
Best for Omega masticating juicers
Three dual-ended brushes made to fit Omega models and similar horizontal or vertical masticating juicers, with firm bristles and pointed tips for tight spots. Also useful for cleaning bottles, blenders, and other hard-to-reach kitchen areas.
I may earn a commission at no cost to you.
2
Step 2 — Soak Strategically
Could a vinegar bath be the shortcut you’re missing?Prepare a warm soak: mix 1 part white vinegar with 3 parts water and stir in 1 teaspoon baking soda.
3
Step 3 — Targeted Scrubbing
Tiny brushes, big difference — like flossing a juicer.Use soft brushes (e.g., an old toothbrush), interdental picks, toothpicks, and cotton swabs to remove pulp from mesh filters and narrow channels. Work from the outside inward and flip parts to dislodge trapped fibers.
For stubborn residue, make a paste of baking soda and water and scrub gently. Rinse frequently to check progress. If available, run metal filters in an ultrasonic cleaner following the manufacturer’s safety instructions.
4
Step 4 — Rinse and Sanitize Properly
Rinsing right prevents off-flavors and unseen bacteria.Rinse all parts thoroughly under warm running water to remove loosened debris and cleaning residue.
Sanitize by soaking two minutes in a mild bleach solution (one tablespoon bleach per gallon) or use a vinegar rinse.
5
Step 5 — Inspect, Reassemble, and Test
Reassemble like a pro — no mystery, only fresh juice.Inspect each part for lingering residue, wear, or damage. Lightly oil rubber seals with food-grade mineral oil if they appear dry and replace cracked or warped parts (e.g., gasket, filter).
Reassemble using your photos or manual, seating filters correctly and tightening screws snugly but not overtightened.
Durable Seal Kit
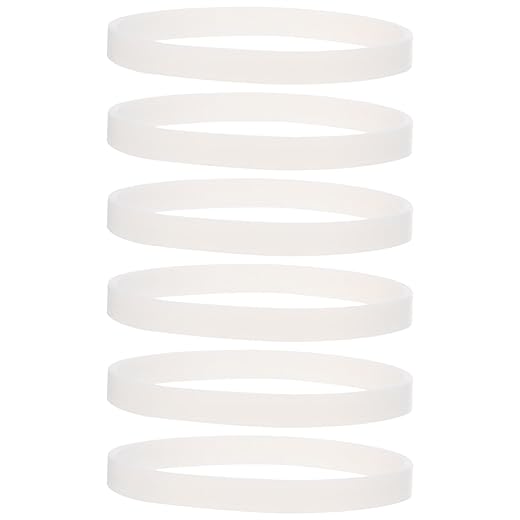
6-Pack High-Temperature Silicone Juicer Gasket Set
Durable, washable seals for blenders and juicers
Six silicone sealing gaskets that replace worn seals on blenders and juicers, offering a tight, food-safe fit and easy installation. Heat-resistant and washable to help prevent leaks and maintain appliance performance.
I may earn a commission at no cost to you.
Final Tips
Regular targeted cleaning prevents buildup and preserves juicer performance; follow the five steps routinely to effectively maintain hygiene, reduce odors, and extend appliance life—replace worn parts as needed for safety?
This post contains affiliate links. Purchases may earn me a commission at no extra cost to you.